
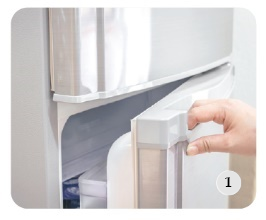
1. Remove the pen from the refrigerator and wait 15–20 minutes for it to reach room temperature.
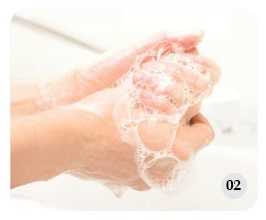
2. Wash your hands thoroughly with soap and water.
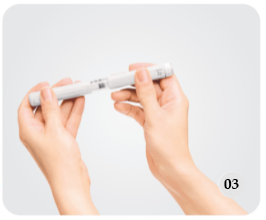
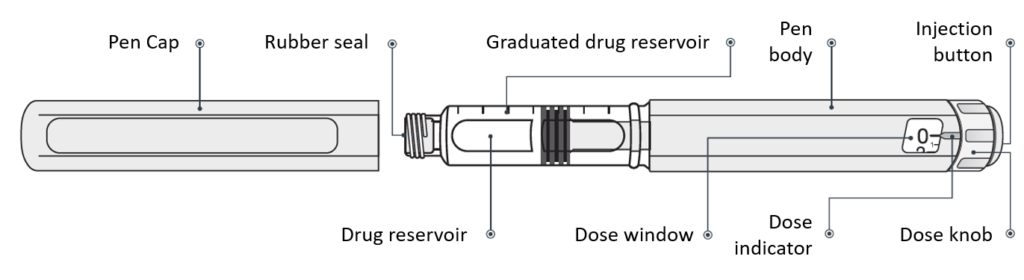
3. Hold the pen with one hand and remove the cap with the other hand.
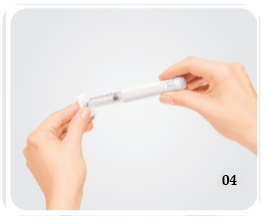
4. Disinfect the needle connection area on the pen using an alcohol swab.
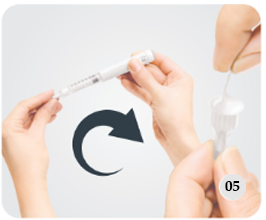
5. Take a new needle and, after removing its label, attach it to the pen. Insert the needle straight into the needle connection area without twisting. Then rotate it clockwise until it is firmly secured.
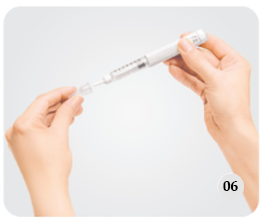
6. Gently remove the outer needle cap. Keep the outer cap for later disposal of the needle. It is recommended to obtain needles sized G29 to G32 with a length of 6 mm from the pharmacy.
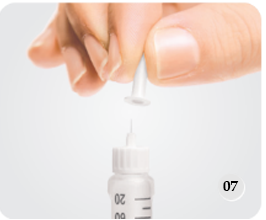
7. Carefully remove the inner needle cap and discard it. Hold the pen so that the needle points upward. If a drop of medicine appears at the needle tip after attaching the needle, do not worry.
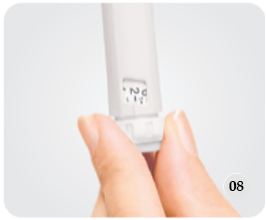
8. When using each new pen for the first time, turn the dose selector dial to number 2
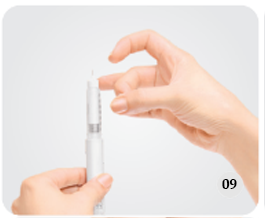
9. Gently tap the medication cartridge so that air bubbles move upward.
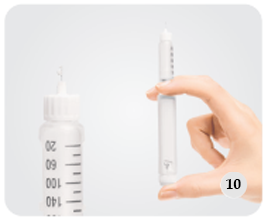
10. Press the injection button at the end of the pen with your thumb until the number 0 (zero) appears opposite the indicator in the dose display window. At this stage, you should see a drop of liquid coming out of the needle.
If no drop appears, repeat steps 8 to 10. You may repeat these steps up to 4 times. If no drop appears after that, replace the needle. If the problem persists after changing the needle, contact the CinnaGen Patient Support Center.
• Never press the injection button at the end of the pen before attaching the needle.
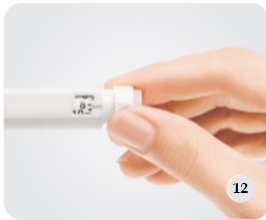
12. Turn the dose selector dial until the number recommended by your physician or pharmacist appears opposite the indicator in the dose display window. Each dose equals 60 clicks.
• Avoid excessive or unnecessary turning of the dose selector dial, as this may cause the pen to malfunction.
• If you turn the dial beyond the intended dose, rotate it back in the opposite direction to correct the dose.
• Never press the injection button while setting the dose, as this will cause the medication to be expelled.
• When the medication in the pen is nearly finished, you will not be able to turn the dose selector beyond the remaining amount. Discard the pen or use the remaining units and then use a new pen to complete the required dose.
• Use only the dose selector dial to set the dose; do not use the markings on the medication cartridge for dose adjustment.
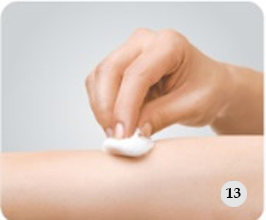
13. Disinfect the injection site with an alcohol swab using circular motions from the center outward, then wait for the alcohol to dry. Do not touch the injection site before injecting. Do not blow on or fan the disinfected area.
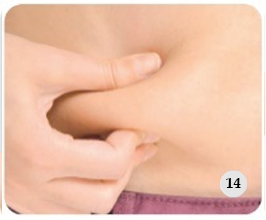
14. Hold the pen with one hand and use the other hand to create a small skin fold at the injection site. (Maintain the skin fold until the injection is complete.)
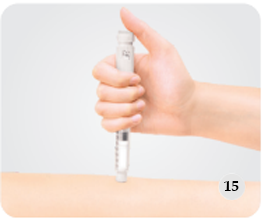
15. Place the pen at a 90-degree angle at the center of the skin fold and insert the needle fully into the skin.
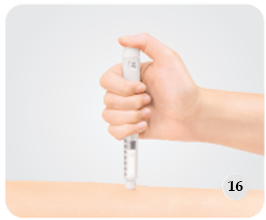
16. Press the injection button at the end of the pen fully downward with your thumb until the number 0 (zero) appears opposite the indicator in the dose display window. While pressing the injection button, make sure not to touch the dose selector dial with your other fingers, as this may stop the injection. Medication is injected only by pressing the injection button downward.
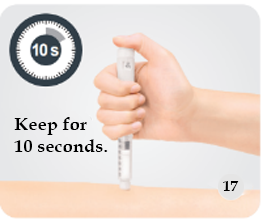
17. After the number 0 (zero) appears in the dose display window, keep the injection button pressed for 10 seconds. Then remove the needle from the skin.
• After completing the injection, cover the injection site with dry cotton. A small amount of blood or medication leakage is not a concern. If mild bleeding occurs, apply gentle pressure with cotton or gauze for 10 seconds.
• If drops of medication come out of the needle after injection, keep the needle in the skin for a longer time during the next injection.
• Never inject all the medication in the pen in a single injection.
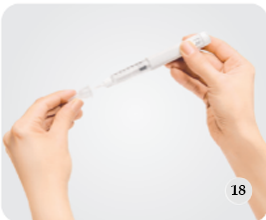
18. Carefully place the outer needle cap back onto the needle. Then rotate it counterclockwise to remove it. Dispose of the needle together with the outer cap.
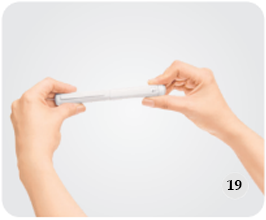
19. Replace the protective cap on the pen. Return the pen to its original packaging and store it in the refrigerator for future use.
• Immediately remove the needle from the pen after each injection.
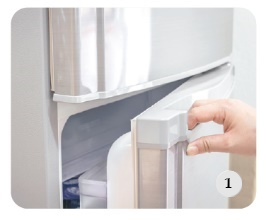
1. Remove the Physioject™ from the refrigerator and wait 15–20 minutes for it to reach room temperature.
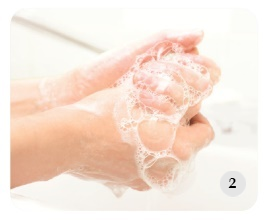
2. Wash your hands thoroughly with soap and water.
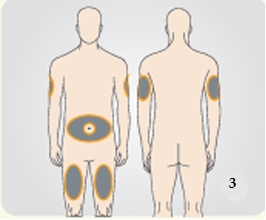
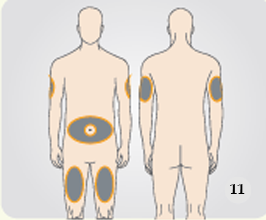
3. This medication is injected subcutaneously. The best injection sites are:
• Abdomen (at least 5 cm away from the navel)
• Front of the thigh (from 5 cm below the groin to 5 cm above the knee)
• Arm (the middle third of the back and outer side of the upper arm)
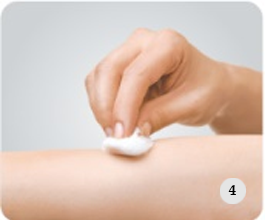
4. Disinfect the injection site with an alcohol swab using circular motions from the center outward. Allow the alcohol to air-dry. Do not blow on the injection site.
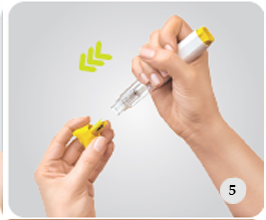
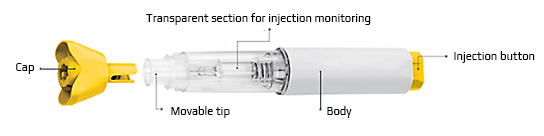
5. Hold the body of the Physioject™ in one hand and use your other hand to remove the device cap. Pull the cap straight off the device and do not twist it. Remove the cap only immediately before injection. Once the cap is removed, the injection should be performed promptly.
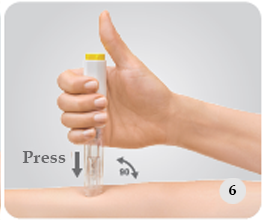
6. Press the movable head of the device vertically against the skin at a 90-degree angle until the transparent part of the device is fully compressed. The device will not activate unless adequate pressure is applied to the skin.
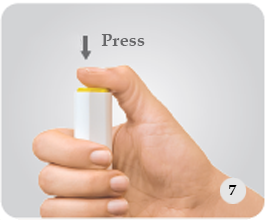
7. Press the yellow button on the top of the device with your thumb.
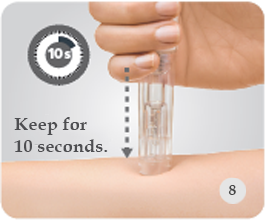
8. When you hear a click, the injection has started. Keep the device firmly in place with steady pressure for 10 seconds, ensuring that the needle does not move out of the skin, until the injection is complete. Note that applying pressure to the skin does not affect the level of pain during injection, so there is no need to worry.
• Monitor the injection process through the transparent part of the device to ensure the full dose has been delivered. Remove the device from the injection site with a straight motion.
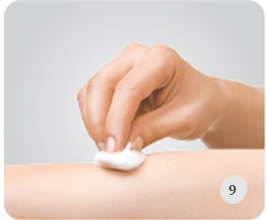
9. After completing the injection, cover the injection site with dry cotton. A small amount of blood or medication leakage is not a cause for concern. If mild bleeding occurs, apply gentle pressure with cotton or gauze for 10 seconds.
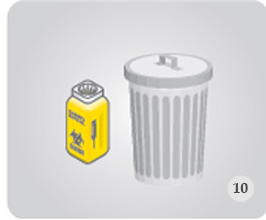
10. Dispose of the used device.